Integrity/廉政風雲 Movie Review
The New King of Comedy/新喜剧之王 Movie Review
The Politics of The Wandering Earth/流浪地球
The Wandering Earth/流浪地球 Movie Review
A Lifetime Treasure/如珠如寶 Movie Review
Tracey/翠絲 Movie Review
Paws Men/毛俠 Movie Review
The Tag Along: Devil Fish/人面魚紅衣小女孩外傳 Movie Review
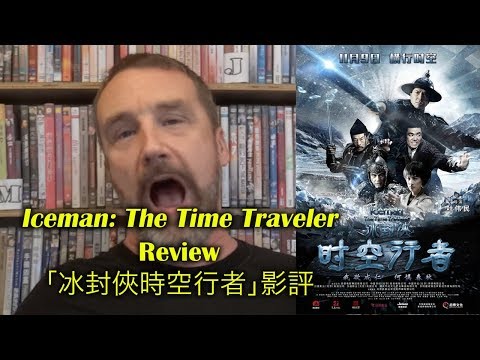
Iceman: The Time Traveler/冰封俠時空行者 Movie Review
Keyboard Warriors/起底組 Movie Review
If we don't support the movies that deserve it, we get the movies that we deserve.
阅读全文
现有用户注意: 点击这裡 请使用你原来的alivenotdead.com帐户登录新网站。
“注意:返回的访客应该使用相同的身份验证服务,以避免创建多个帐户。”
“提示:你可以给一个alivenotdead.com账户添加多个认证服务,以避免这种情况”
“首次的用户可以通过以下任何可信的服务,验证开始创建一个新帐户”
警告: 如果断开所有的社交媒体帐户您的个人资料将被锁定,您将不能再访问它。如果你想保持你的网页,请添加其他社交媒体帐户,然后删除此社交媒体
如已理解了风险,单击此框取消对您的帐户